
Removing a kitchen faucet nut Is a crucial skill For any homeowner or DIY enthusiast, As it Is often A necessary step when replacing A faucet or making repairs. Whether You’re upgrading Your kitchen fixtures or dealing with A leaky tube, understanding The process of removing The tip that secures the tube To the sink Is essential. In this guide, We will walk You through The steps and tools required To successfully remove A kitchen tube nut, Making your plumbing tasks more manageable And helping You maintain A functional And aesthetically pleasing kitchen.
Gather Your Tools And Materials
Before attempting to remove a old kitchen faucet nut, it’s essential to gather the necessary tools and materials to ensure a smooth and efficient process. You’ll need a few items to get started, such as an adjustable wrench, a basin wrench, a pair of pliers, and a bucket or towels to catch any excess water. Additionally, it’s a good idea to have some penetrating oil, such as WD-40, on hand to help loosen any stubborn connections. Once you have all these items ready, you can proceed with the tube nut removal process.
Turn Off The Water Supply
Safety is a top priority when working on plumbing tasks. To begin, turn off the water supply to the kitchen tube. Most sinks have shut-off valves located beneath them or nearby. Simply turn the valves clockwise to shut off the water. If you can’t find these valves, you may need to turn off the main water supply for your entire house. This step is crucial to prevent water from gushing out when you disconnect the supply lines.
Disconnect The Supply Lines
With the water supply turned off, it’s time to disconnect the supply lines that connect your faucet to the plumbing. Using an adjustable wrench or pliers, carefully loosen and disconnect the hot and cold water supply lines. Be prepared for a little water to come out as you do this, so have your bucket or towels in place to catch any drips. Once the supply lines are detached, you’ve successfully completed a significant part of the process.
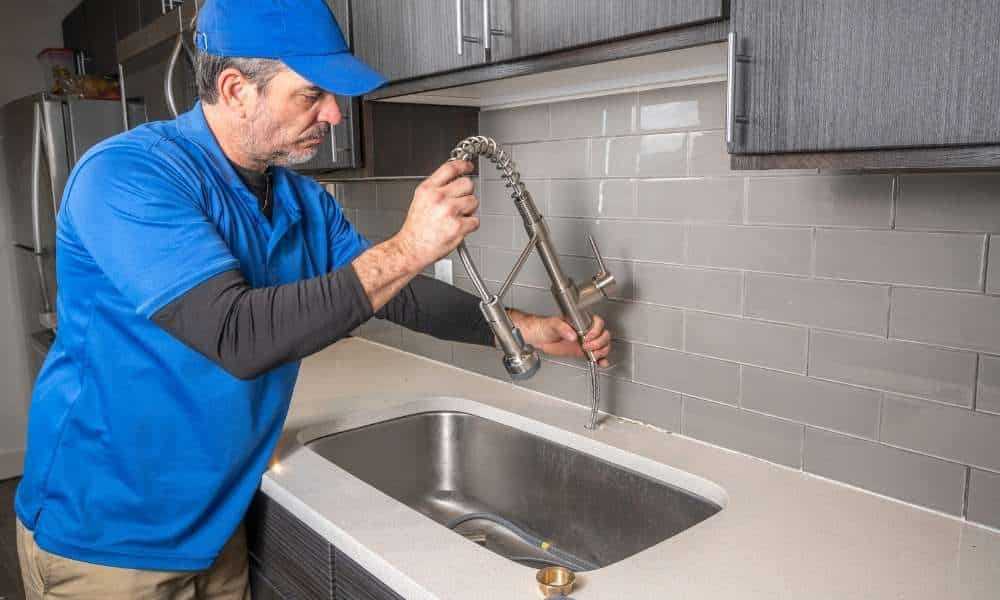
Access The Faucet Nut
Now that the supply lines are disconnected, you need to access the kitchen tube nut that secures the faucet to the sink. To do this, you might need to remove any decorative caps or covers that are concealing the nut. Sometimes, these caps simply twist off or have small screws holding them in place. Once the tip is exposed, you’re ready to move on to the next step.
Use A Basin Wrench
The basin wrench is a specialized tool designed for the precise task of removing faucet nuts. Insert the basin wrench onto the nut and adjust it to fit securely. Then, turn the wrench counterclockwise to loosen and remove the tube nut. If the nut is particularly stubborn, you can use penetrating oil to help break up any corrosion or mineral deposits that might be causing resistance. With the basin wrench, you can apply steady pressure and gradually release the nut, allowing you to detach the old faucet from the sink.
Apply Steady Pressure
Once you’ve secured the basin wrench on the kitchen tube nut, it’s time to apply steady, even pressure. Turning the wrench counterclockwise, use controlled force to begin loosening the nut. Be patient and avoid using excessive force, as this could damage the nut or the surrounding plumbing components. The basin wrench provides the leverage you need to make this step more manageable, even if the tip is tightly secured.
Remove The Nut
As you continue turning the basin wrench counterclockwise with steady pressure, the kitchen tube nut will gradually come loose. Keep a firm grip on the wrench and be prepared to catch the tip when it fully detaches. Once the nut is removed, you can carefully slide the faucet out of its mounting hole, leaving you with the open sink surface for any necessary maintenance or replacement work.
Inspect For Damage
After successfully removing the kitchen tube nut, take a moment to inspect the exposed area for any signs of damage. Check the threads of both the nut and the tube tailpiece to ensure they are in good condition. Any corrosion, cracks, or irregularities may require additional repairs or replacements. It’s essential to identify and address any issues before reassembling the faucet.
Apply Plumber’s Tape
Before installing a new faucet or reattaching the existing one, it’s a good practice to apply plumber’s tape (also known as Teflon tape) to the threads of the faucet tailpiece. This tape acts as a sealant to prevent leaks and create a secure connection. Wrap a few layers of plumber’s tape clockwise around the threads, making sure it’s snug but not excessive. This will help ensure a watertight seal when you reinstall the tube and connect the supply lines.
Reinstall The Faucet
With the old kitchen tube nut removed and any necessary maintenance or replacements completed, it’s time to reinstall the faucet. Carefully guide the tube back into its mounting hole on the sink, ensuring that it aligns correctly. Secure the tube in place and thread the faucet tailpiece into the water supply lines.
Turn On The Water
After the faucet is securely reinstalled, it’s time to turn the water supply back on. Locate the shut-off valves beneath the sink or at the main water supply and turn them counterclockwise to restore water flow to the tube. Be prepared for some initial sputtering and air in the lines, which should clear out as the water flows smoothly.
Test Your Faucet
Once the water is running, thoroughly test your kitchen faucet. Check for any leaks around the connections, both at the supply lines and the tube base. Turn the hot and cold water handles to ensure they operate smoothly, and inspect the spout for any irregularities. Run the water for a few minutes to confirm that everything is in working order and that there are no unexpected issues.
Conclusion
Removing and replacing a kitchen tube nut can be a manageable DIY task with the right tools and knowledge. Properly following the steps outlined in this guide. From gathering your tools and turning off the water supply to inspecting for damage and applying plumber’s tape, ensures that you can maintain the functionality and aesthetics of your kitchen sink. By concluding the process with the reinstallation of the tube and thorough testing. You can have confidence in your plumbing work, allowing you to enjoy a fully operational and leak-free kitchen faucet.