The outdoor kitchen has become a common feature in modern homes, and for good reason. An outdoor kitchen can make it easier to prepare food outdoors. Is a great way to enjoy your home’s surroundings year-round. Build An Outdoor Kitchen With Wood Frame are especially popular in warmer climates where cooking inside is often not practical.
The popularity of outdoor kitchens may be due to the fact that they can provide the same benefits as an indoor kitchen. By combining the best of both worlds: plenty of space and multi-functional utility. Here are some tips on how to build an outdoor kitchen with a wood frame.
The Benefits Of Outdoor Kitchens

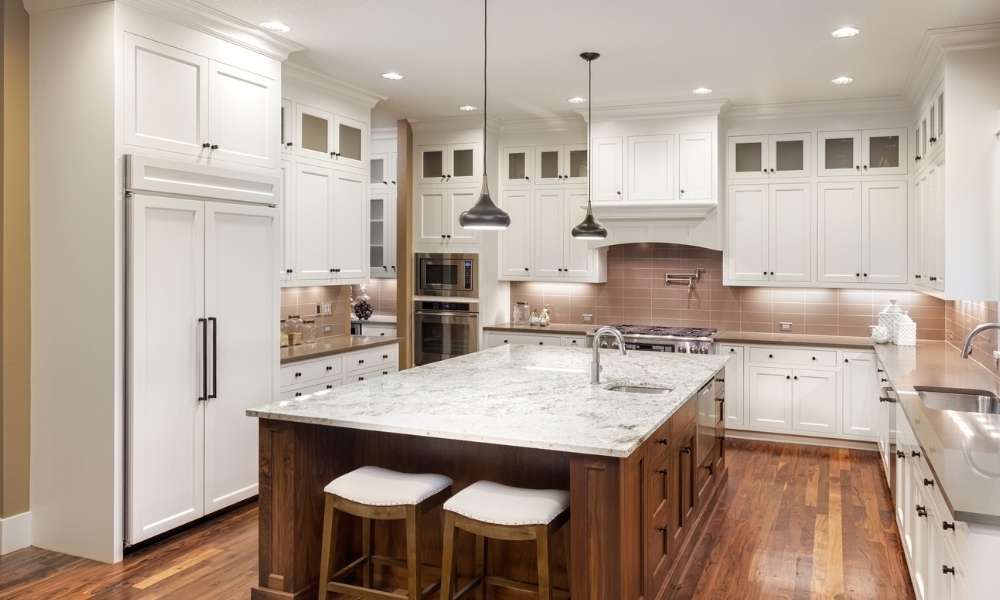
Outdoor kitchens are a great place to entertain and enjoy the company of friends and family, whether you’re grilling for burgers on a summer day or enjoying a hearty stew on a crisp autumn evening. A large amount of space in an outdoor kitchen means that it doesn’t have to be reserved only for cooking but can also serve as a bar area where you can prepare drinks, snacks, or hors d’oeuvres. Outdoor kitchens are also an excellent way to stay active in the cooler months when cooking inside may not be practical.
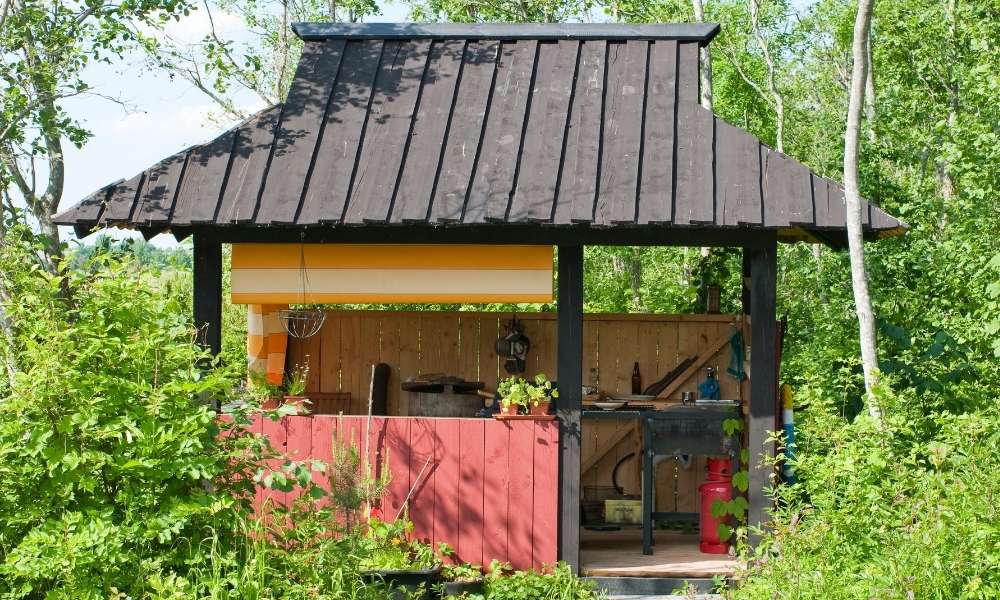
Building An Outdoor Kitchen With Wood Frame
In order to build an outdoor kitchen with a wood frame, you’ll need to first decide on a location. You’ll want your outdoor kitchen space to be easy to access and have plenty of room for both cooking and eating. It’s also important that the outdoor kitchen is in close proximity to the home for convenience.
The next step is to draw up plans for the outdoor kitchen area based on your needs and wants. This will help determine what materials you will need and how much time will be needed for construction.
Next, you’ll need to purchase lumber and other building materials for the project. Be sure to plan ahead so all materials are purchased at once in order to ensure you have enough of everything before starting construction on the outdoor kitchen.
The last step is assembling the wood frame. The dimensions of the base depend on where it will be built, but typically they should measure 1-1/2″ x 2-1/2″. The size of any table or countertop depends on your needs and personal preference.
Choosing The Right Size And Location
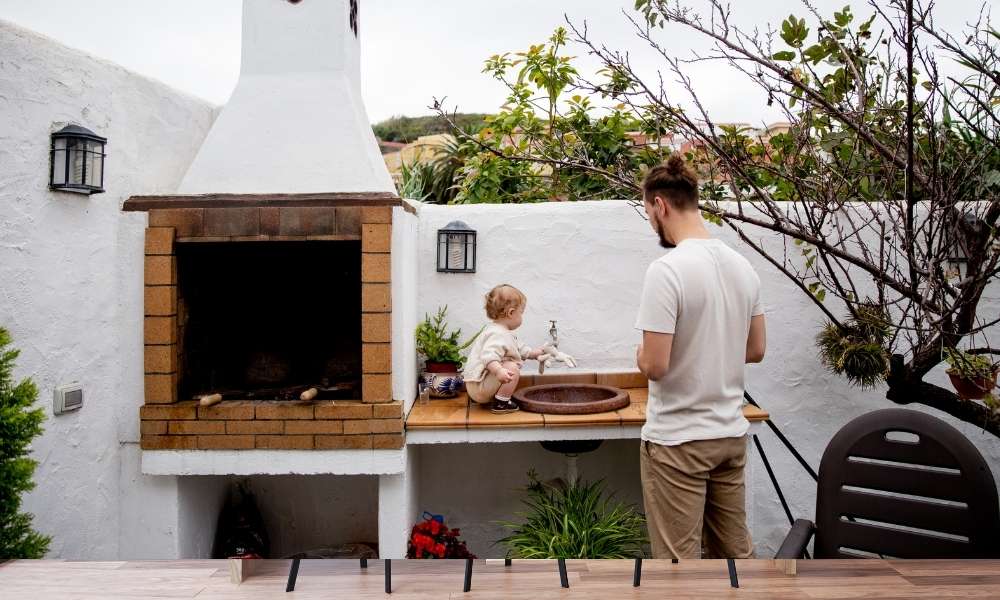
The size and location of your outdoor kitchen will depend on a variety of factors. It’s important to consider how much space you have available, what your budget is, how much cooking you plan to do outdoors. The frequency with which you’ll be using the outdoor kitchen, and what type of design you’re going for. If you have a lot of space in your yard and are planning on using the outdoor kitchen often, then a large-sized one may work best for you. However, if you’re only planning to use it once in a while or don’t have much space, then a smaller one might be more suitable.
If you’re aiming for an elegant look, your outdoor kitchen should be located within view from inside your home. The backyard is usually not big enough for a large-sized outdoor kitchen. Due to limited space unless it’s in an area that gets constant sun exposure.
An important thing to keep in mind when selecting where to place an outdoor kitchen is safety. Make sure that gas lines won’t run under it or over it if they’re above ground so they don’t pose any risk. Spilling natural gas onto the surface below.
Preparing The Area
Before any design or assembly can take place, you need to prepare the area. The first step is ensuring the ground is level, which will ensure a flat surface and easy installation. The ground should be free of any large rocks or roots that could interfere with construction.
Place a layer of compactable fill dirt (or other material) on top of the soil. And bring it up to the level of your desired install height. Ideally, this would be about one foot below the surface, but in some cases. It might be more appropriate to simply make it slightly lower than that.
It’s important to note that if you are installing an outdoor kitchen where you will spend considerable time cooking, then glass or porcelain tile is best for your countertops; these surfaces are tough enough for heavy-duty use without breaking down over time as stone countertops might do.
The next step is digging out a hole in the center of the fill dirt for your fire. As well as digging out four holes around it into which you will place posts that will hold up your wood-frame structure (for example). After filling in those holes with gravel or sand, set four posts into them and attach brackets evenly spaced along their length (if needed), then attach a cross bracket at each end (if needed).
Preparing The Floor
When you are preparing the wood frame, the first step is to build a solid, level floor. The floor should be at least 12 inches thick, in order to accommodate the weight of the kitchen cabinets and appliances. You will also want it to be stable so that it can withstand any movement from your building’s foundation.
This is usually done by pouring a concrete slab, but this can get expensive if you’re not experienced with home construction. There are prefabricated concrete slabs that can be purchased from home improvement stores or online retailers such as Amazon. If you do not have access to these materials and experience for pouring your own slab, then you may need to hire someone to prepare your floor for the outdoor kitchen.
Installing The Cabinets
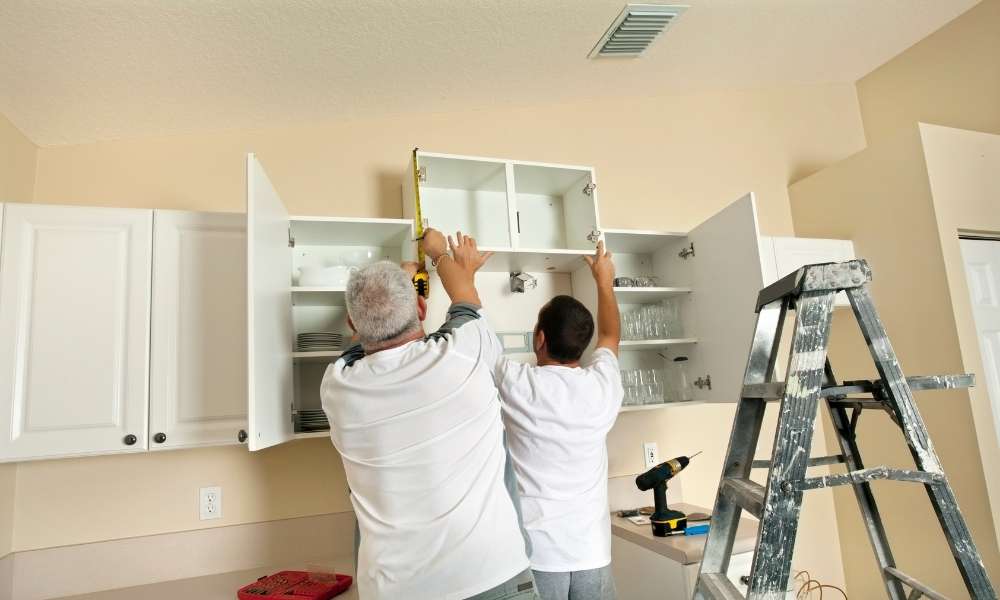
How to build an outdoor kitchen with a wood frame. If you’re building your own outdoor kitchen, you’ll need to install the cabinets. This is an important step and will dictate the design of your kitchen. You should always make sure that your cabinets are durable enough for exterior use. An outdoor kitchen can get plenty of wear and tear from rain, wind, cold and heat – so it’s important to ensure that your cabinets don’t face these elements head-on.
To secure the cabinet from moisture, you should use a sealant or primer before applying paint or staining.
Installing Countertops
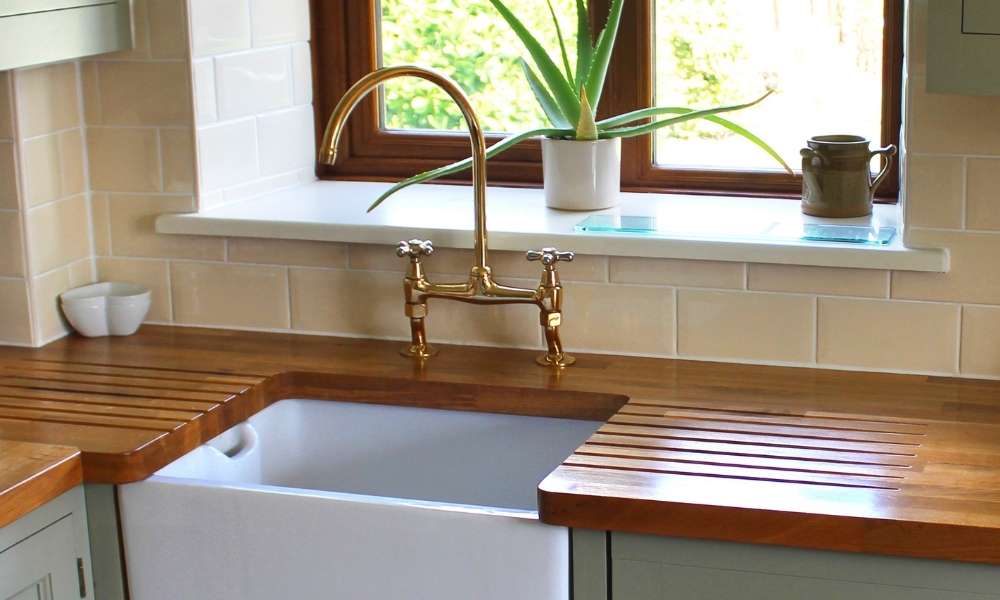
Countertops should be installed after the framing has been completed and before the cabinets are assembled. The countertop material may or may not come with the required hardware for installation. If your countertop does not come with mounting brackets, you will need to purchase them separately.
To start, assemble the top of the cabinet frame by placing two 2x4s on top of one another diagonally from one corner to another. To help keep things sturdy, drill a couple of screws in at an angle. This will also help you install the countertops as it provides a solid base for mounting.
When it comes time to install your countertops, use a level to make sure that things are straight and even before attaching them with brackets and screws. Countertops can be installed flush against the sideboards or shimmed out so that they overhang the sideboards by 1/2″ all around (this is called a bullnose).
If I was considering installing counters that would go on both sides of an outdoor kitchen, they should be mounted so they are flush against one another and attached together with either wood blocks or metal brackets.
Conclusion
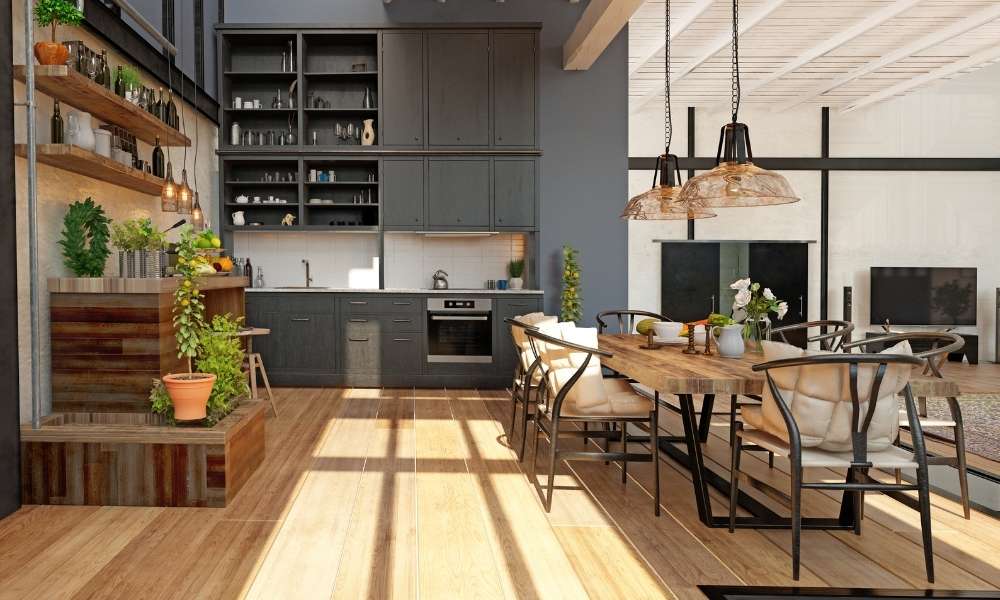
Outdoor kitchens are a great way to enjoy your backyard year-round. They bring an attractive and functional focal point to your yard, as well as a place for friends and family to gather for a meal. Building an outdoor kitchen is no simple task, but it can be done by following these simple steps.