

After you’ve purchased your sink, you need to hang it. It is much easier to install a sink than it is to remove one. In fact, installing a sink is one of the easiest plumbing jobs you will ever do. The only problem is, you’ll need a sink that’s as big as you are before you can do it. Luckily, there are a variety of solutions to this problem that are affordable and easy. In this article, we’ll show you how to install a kitchen sink.
Buy A Sink That Will Fit The Existing Opening

The top tip to installing a kitchen sink is to buy a sink that will fit the existing opening in the house. There are a variety of options available, and you’ll need to find the one that best works with your project. Some choices to consider include Akey’s 8” sink, American Standard’s 5” sink, and George Underhardt’s 4” sink. These are all highly recommended, but make sure to check the reviews online first. People who have larger homes will probably want a bigger sink.
Clear Out The Sink Cabinet And Crawl In There With A Flashlight

If you want to clear out the cabinets in your kitchen sink to install . You’ll need to remove everything from the walls and tables. This includes the serving dishes, pots and pans, glasses, and other kitchen items. In general, this is not a Large Project, so we won’t go into the details of how to clear a kitchen sink. You can try scraping the walls and table tops with a knife to get a more thorough job. But this is not the right way to go.
You should be finished with the cabinets as soon as possible. Once you’ve removed everything, it’s time to clear the kitchen. Using a flashlight, look for small defects in the wall panels, such as drawers that are not level with the surface, loose fixtures, etc. Untwist the screws that hold the cabinets on the wall, and remove them. Set the glass doors and drawer handle aside, and remove the screws. You’ll need these to complete the Clear the kitchen.
Prepare The New Sink By Installing The Faucet According To The Manufacturer’s Directions
After you’ve completed the above tasks and removed the old faucet, you’ll need to line up the new faucet with the existing one. This is easy. There are a few things to keep in mind, though. The first is that the new faucet should be 1/4-turn more than the existing one. This is to compensate for a larger flow of water in the new sink. The second is that you should use a water temperature of about 40 degrees Fahrenheit.
This is to avoid any build-up of warm water in the new faucet. After reading through the pros and cons of each faucet, it’s clear that the best purchase is the faucet that comes with the most instructions. We tend to go with the manufacturers’ instructions, but if you want to make one extra effort, check out some of the DIY instructions on the internet. When checking the reviews online, you’ll see that some people experience a much better experience with the new faucet than others. This is understandable. Part of being a newbie plumbing enthusia is finding a few do-it-yourself (DIY) instructions that prove to be a no-brainer. These instructions should cover all the steps needed to complete the job.
When Installing The Faucet And Sprays, Apply A Ribbon Of Plumber’s Putty First
After you’ve completed the above tasks and removed the old faucet and all of its hardware, you’ll need to line up the new faucet and sprays with the existing one. This is easy. There are a few things to keep in mind, though. The first is that the new faucet should be 1/4-turn more than the existing one. This is to compensate for a larger flow of water in the new sink. The second is that you should use a water temperature of about 40 degrees Fahrenheit. This is to avoid any build-up of warm water in the new faucet.
After reading through the pros and cons of each faucet, it’s clear that the best purchase is the faucet that comes with the most instructions. We tend to go with the manufacturers’ instructions, but if you want to make one extra effort, check out some of the DIY instructions on the internet. When checking the reviews online, you’ll see that some people experience a much better experience with the new faucet than others. This is understandable. Part of being a newbie plumbing enthusia is finding a few do-it-yourself (DIY) instructions that prove to be a no-brainer. These instructions should cover all the steps needed to complete the job.
Apply Caulk Under The Sink Rim And Seat It In The Opening
Before you can do anything else, you’ll first need to caulk the underside of the sink rim and seat it in the opening. There are several options you can use to do this, but the easiest option is to use a 1” PVC pipe. This will plug just under the sink, making the job easier.
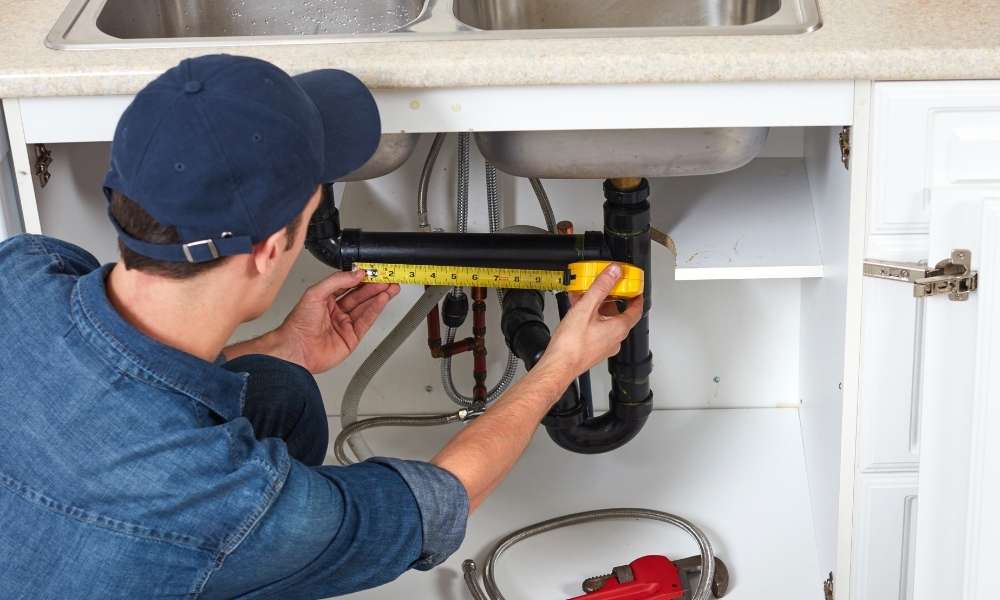
Install The Drain And Tailpipe, Seating It In Caulk And Using The Supplied Gasket And Nut
After you’ve successfully civ dressed the bottom of the sink, you can install the drain and tailpipe, as well as the kitchen faucet, in the opening. Depending on how you want to use the drain, you can either flush it or put it through the
Attach The Supply Hoses To The Supply Lines
After the kitchen sink is connected and the kitchen faucet is running, you’ll need to attach the supply lines to the plumbing fixtures. There are a number of options here, but the easiest is to use kitchen hose clamps and then tie them to the plumbing fixtures. This way, you can unhook the clamps from the plumbing fixtures and hang the plumbing fixtures from the kitchen hoses.
Turn On The Water And Run It For Several Minutes.
After you’ve attached the kitchen hoses to the plumbing fixtures, it’s time to turn the water on. You can either use a kitchen faucet or a showerhead and you’ll have a great shower experience. It’s very easy to do since you’ll only need a clamps and a long shower hose.
Final Thought
The only real problem with installing a kitchen sink is getting it out! Luckily, it’s very easy to remove. Just make sure to hang the sink as it’s going in so you don’t cut your finger. This is one of the most important things to do before you do anything else. The only real problem with this is that you’ll need a big enough sink to hold everything you’ll need. The good news is that there are a number of solutions to this problem that are very small and easy to install. So, whether you’re building a house, putting together a remodel or even doing DIY, you’re bound to have a great experience working with plumbing. So, if you’re ready to get started, make sure to check out this article and read through this guide to install a kitchen sink.